Strong and large winter garlic can be obtained if you follow simple rules when planting: do not disturb crop rotation, properly prepare the site and material for planting, deepen the cloves to the required depth and protect the planting with a layer of healthy mulch.
Changing planting crops
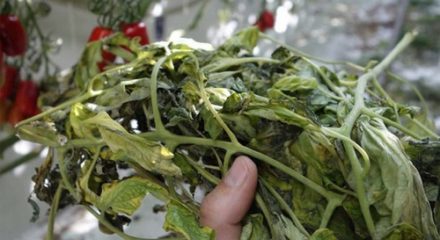
If planted incorrectly, garlic cloves can become infected with bacteria, fungus and harmful microorganisms. If the plot area is small, it is necessary to take into account that garlic should not be planted in the same place for more than 3 years. Also, the cloves will not turn into strong heads if they were planted in the place where tomatoes, eggplants, sweet peppers, and onions grew. The most suitable areas are those after sugar pumpkin, corn, squash or zucchini.
The landing must be calculated correctly. An early procedure will lead to the germination of cloves and the death of tender shoots from the coming frost. If planted late, the crop will not take root in time. The best time is 15–20 days before the first night frost.
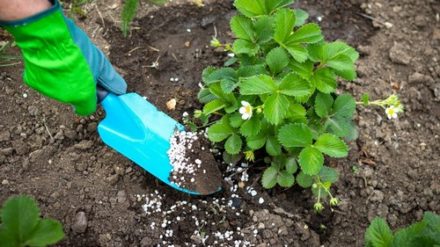
Preparing a site for garlic
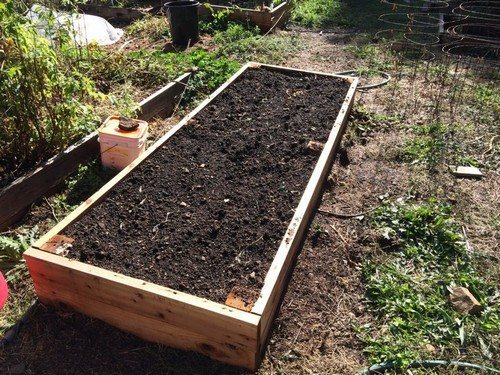
The bed in which the garlic will overwinter must be properly prepared. If the procedure is carried out immediately after digging, but over time the soil will settle and the head will partially appear on the surface. Excessive cold will prevent the plant from developing properly. It is better to start preparations 3 weeks before disembarkation.You need to measure the acidity level, since only neutral soil is suitable for garlic.
If there is increased acidity, it is better to add dolomite flour or lime to the soil. If the soil becomes deoxidized, humus should not be added. If the soil is neutrally acidic, for comfortable growth, add 30 g of superphosphate, 20 g of potassium nitrate per 1 sq. m. m plot. Dig up the soil using a spade so that the applied fertilizers are distributed evenly over the soil. Form a bed 25 cm high with the angle of a hoe so that the soil settles within 2 weeks. Only after this is it allowed to plant garlic.
Processing of planting material
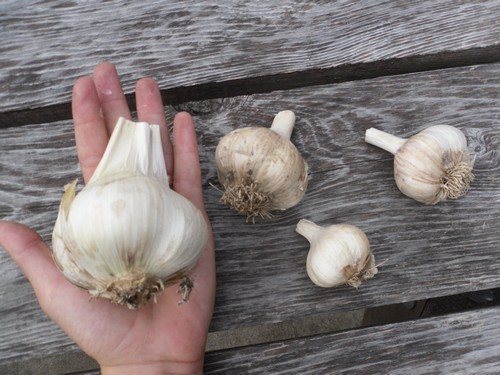
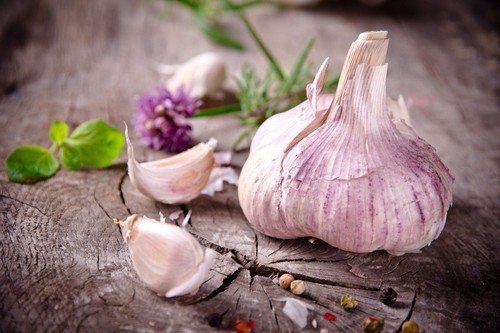
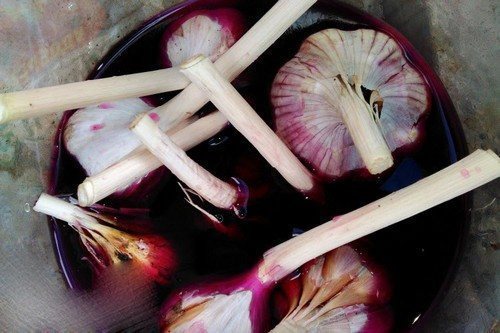
A few days before the planned soaking, disassemble the selected heads into pieces. To reap a rich harvest, you need to choose healthy and large cloves. Allow the pieces to dry so that micro-scratches heal. Planting material must be disinfected with any of the following solutions:
- soaking for 30–35 minutes in a slightly pinkish manganese solution;
- about half an hour of exposure in a 1% solution of copper sulfate;
- soaking the material in diluted wood ash at the rate of 300 g per 1 liter of heated water.
After completing the disinfecting soaking, it is necessary to completely dry the planting material so that the process of rotting does not begin in the ground.
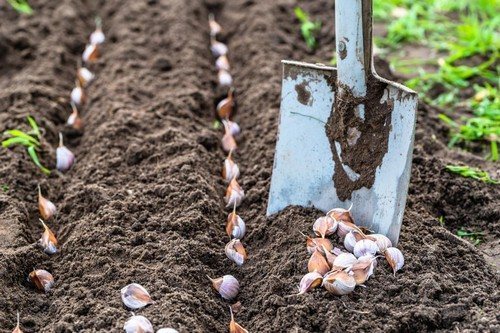
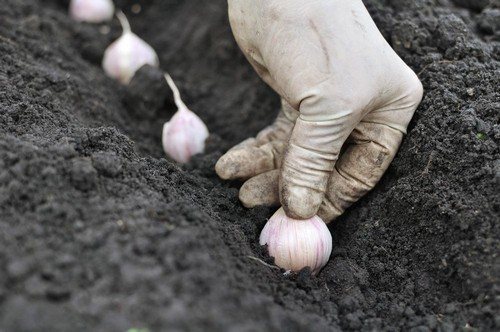
Disembarkation
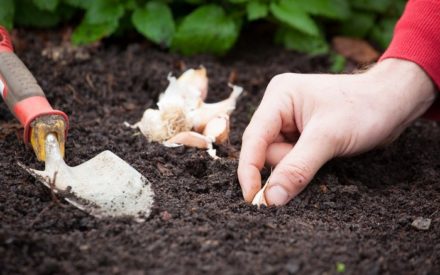
On the prepared settled bed, make grooves at a distance of 25 cm from one another. Place each clove 10 cm from the previous one. The depth of immersion depends on the dimensions of the material. Small slices are 3–4 cm, and larger ones are 6–7 cm.
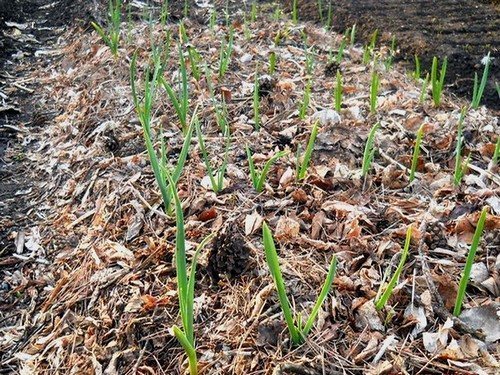
Mulching of plantings
Immediately after planting, it is necessary to mulch the area.Pour a 3 cm layer of rotted sawdust onto a fresh bed. You can also use spruce branches, fallen leaves of fruit trees, old peat or humus as useful mulch. With the arrival of spring, the mulching protection must be removed. It is important not to use fresh compost as mulch as it can burn the garlic.
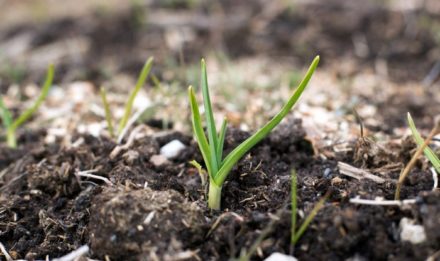
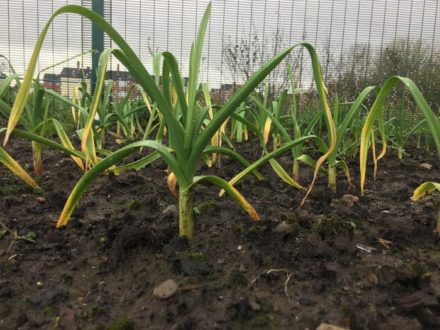
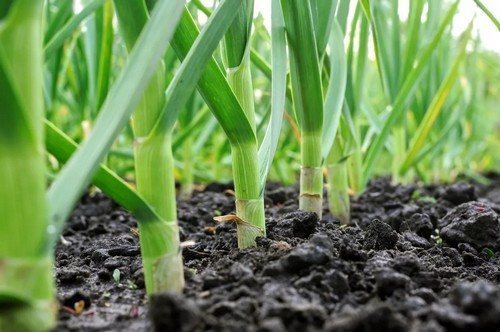
Autumn planting of garlic ensures enhanced growth of large and dense garlic. During the cold weather, the cloves become stronger and acquire immunity from harmful bacteria, microbes and fungi. With the arrival of spring warmth, the plantings produce a large harvest with large heads and strong trunks that do not develop into arrows for a long time.