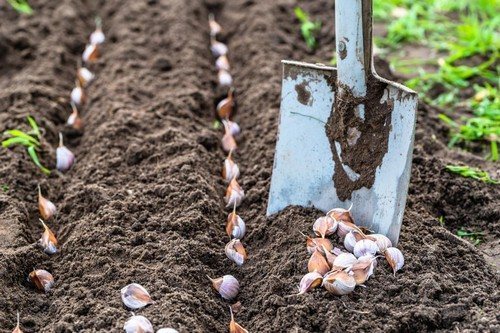
With the end of the summer season and harvest, work on the plot does not end. In the fall, the preparation of the site for the next season begins and the planting of some crops before winter begins. One of these crops is winter garlic. Despite the fact that this crop is quite unpretentious, improper planting and lack of seed processing negatively affect the size and quality of the harvest.
To obtain a good garlic harvest, preparatory work should be carried out to cultivate the soil and planting material. But in order not to spoil the seed material, you need to know what solutions are suitable for disinfecting garlic and the concentration of disinfectants.
Purpose of garlic processing
Garlic is a vegetatively propagated crop. If the mother plant was affected by any disease during development, it will be transmitted to the new plant. The most common disease of garlic is bacteriosis. Moreover, pathogenic bacteria affect garlic not only during the growing season, but also during storage. The main sign of bacterial rot is brown wounds on the cloves and transparency of the lobes. The reason for this may be early harvest, poor drying or failure to comply with storage conditions.
Selecting healthy tines and properly processing them will help save the harvest. It will also be necessary to additionally disinfect the soil intended for placing garlic.
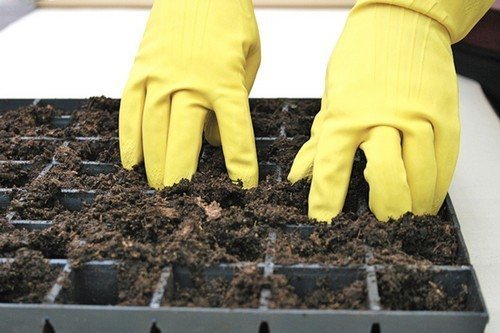
Soil preparation
One of the conditions for obtaining a high and high-quality garlic harvest is the correct selection, preparation and disinfection of the area for winter planting.
When choosing a site, you must take into account the rules of crop rotation. You cannot plant a crop in the same area for two years in a row. The best predecessors of garlic are tomatoes, cucumbers, pumpkin, and cabbage. The planting site should be well lit and located as high as possible so that moisture does not accumulate on it.
The area intended for planting garlic must be dug up, while simultaneously removing all weeds along with the roots. While digging, you need to feed the soil with compost or ash, depending on the acidity level of the soil.

It is not recommended to fertilize the area with manure, otherwise all the plant’s forces will be directed to the formation of tops and not bulbs. The tissue of the heads will be loose, which will significantly deteriorate their quality during storage.
The next step before planting garlic will be to disinfect the soil. You can do this in several ways:
- Purchase a ready-made product and use it according to the instructions.
- Treat the soil with Bordeaux mixture, diluting 50 g of the substance in 5 liters. water.
- Prepare a solution by mixing ammonia and baking soda (2 tablespoons each) in 10 liters of water.
- Disinfect the soil with copper sulfate (40g), dissolving it in water (10 l).
- Mix potassium permanganate, boric acid and copper sulfate (10 g each) with water (10 l) and treat the ground.
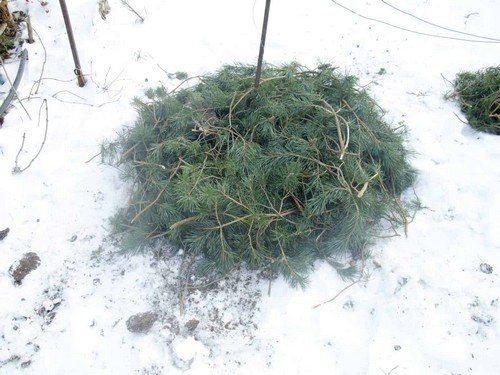
Despite the fact that garlic is considered a frost-resistant crop, covering the garlic beds will not hurt. Fallen leaves, straw, sawdust, and peat are used as covering materials.But with the beginning of spring, it is imperative to remove the shelter so that the cloves do not begin to rot in the ground.
Seed selection
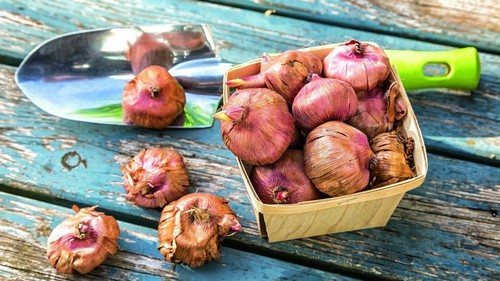
The first stage of preparing garlic for planting is selecting seed material.
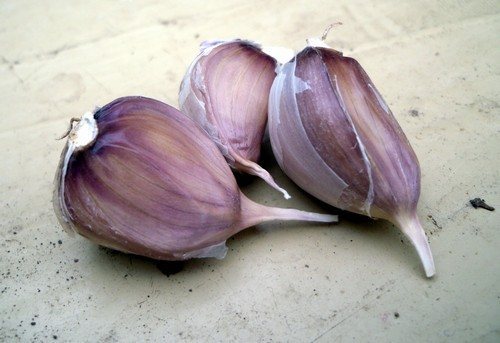
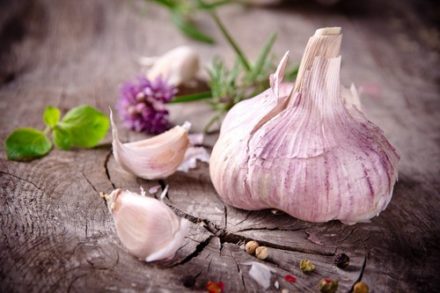
First of all, you need to make sure that it is winter garlic that is chosen for planting, and not spring garlic. This can be determined by the following signs:
- presence of an old arrow;
- arrangement of slices in one tier;
- purple skin color.
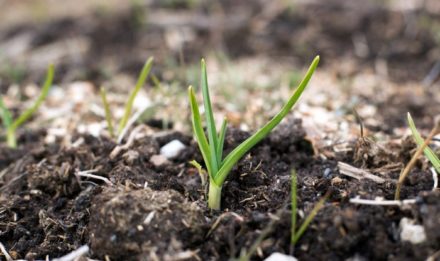
A spring variety planted in the fall may freeze over the winter and not sprout in the spring.
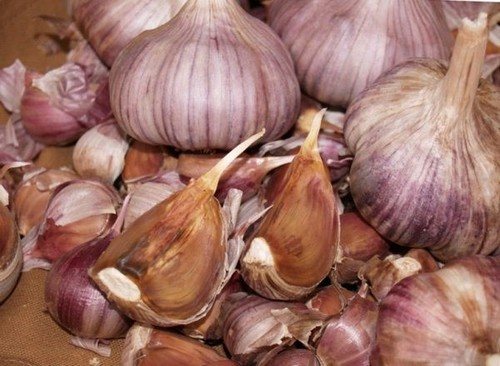
When choosing planting material, you need to take into account several factors:
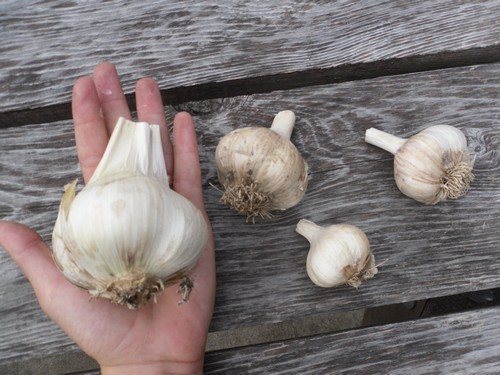
- The size of the head. Large specimens are selected, otherwise the new harvest will be small.
- A lot of cloves. Slices of the same weight will produce a harvest with more even teeth.
- Integrity of planting material. The cloves should show no signs of disease, rot, or dark spots.
- The tightness of the skin. The peel of a healthy plant is difficult to remove.
It is also necessary to pay attention to the number of lobules in the head. If there are too few of them, then using such heads is not recommended. This sign indicates the degeneration of culture.
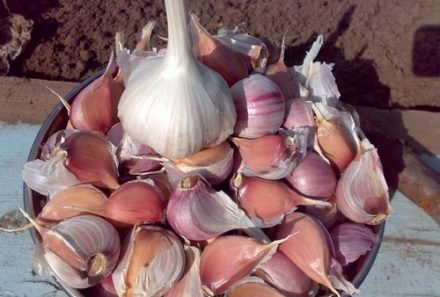
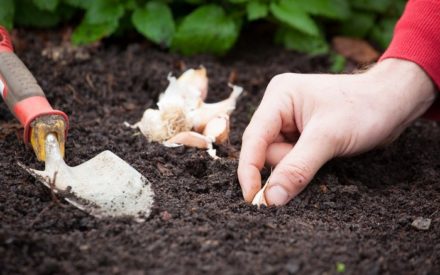
Having sorted the seed material, they begin to parse the head into cloves. This procedure is carried out 2-3 days before planting in the ground, otherwise the root bottom may dry out. The process of detaching the teeth is carried out carefully so as not to damage their integrity. There must be signs of roots on the bottom, otherwise the planting material will not sprout in the spring.
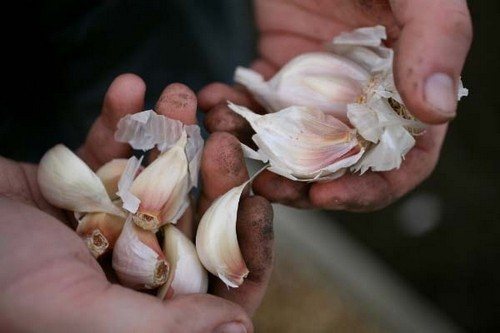
The husk should remain on the cloves, as this is garlic’s natural protection from pests and diseases. In addition, removing the peel can damage the root base.
Having selected the seed material, you can begin to disinfect the cloves.
Methods for processing garlic
Treatment of seed material will help strengthen the immune system and increase the resistance of garlic to diseases and cold weather. To disinfect garlic cloves you can use:
- manganese (potassium permanganate);
- copper sulfate;
- table salt;
- wood ash.
Planting material can also be disinfected with ready-made chemicals: Fitosporin and Maxim fungicide.
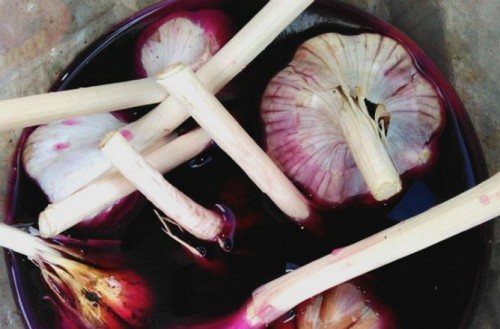
Treatment with potassium permanganate
One of the strong antiseptic agents that suppress many fungal diseases and pathogenic microflora is manganese. It not only disinfects the garlic cloves, but also feeds them with potassium.
The main thing when preparing the solution is not to overdo the concentration, otherwise the garlic cloves may get severely burned. The powder must be thoroughly mixed in water so that all the crystals dissolve and the mixture acquires a faint pink tint. The teeth are immersed in the solution for several hours. If the planting material is healthy and without damage, 1 hour is enough for disinfection. Otherwise, you will need to keep the garlic in the solution for much longer – up to 10 hours.
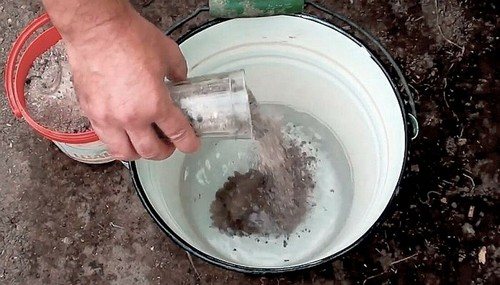
Disinfection with ash liquor
To obtain ash, pine or birch firewood, corn and sunflower stalks, rye and buckwheat straw are used.
When ash powder is dissolved in water, dust particles settle to the bottom. The solution is enriched with potassium and calcium hydroxides, which have a pronounced alkaline reaction. This solution protects the garlic cloves from damage by roundworms (nematodes). In addition, ash lye is an effective mineral fertilizer that improves plant growth.
To prepare an alkaline mixture, ash (3 cups) is diluted in water (3 l). Heat the resulting mixture over low heat, being careful not to bring it to a boil. After cooling, the transparent part is poured into a separate container, where the garlic cloves are placed for disinfection for 1-2 hours.
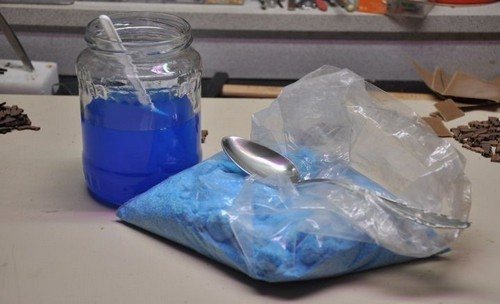
Disinfection with copper sulfate
One of the means that helps disinfect garlic for planting before winter is copper sulfate. To do this, dissolve 5 g of the substance in 1 liter of water, stirring thoroughly. Then the garlic cloves are kept in the solution for no more than 10 minutes. During this time, the solution will have time to be absorbed into the skin.
Having pulled out the garlic, lay it out on paper or cloth to dry. Copper sulfate remaining on the surface of the cloves after drying is enough to protect the crop from any diseases.
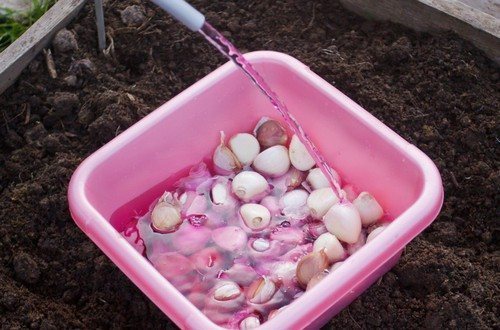
Multi-level processing
Some summer residents process winter planting material in several stages. Garlic cloves are alternately disinfected in three solutions:
- Nitroammofoska (1 tbsp) is diluted with warm water (10 l). The garlic is soaked in the resulting solution for 24 hours.
- Table salt (1 tbsp) is dissolved in water (1 l) and the cloves are kept in this mixture for no more than 20 minutes.
- Mix copper sulfate (1 tbsp) with water (1 bucket). Dip the planting material into the mixture for no more than 1 minute.
After drying, the planting material can be planted in the beds.
Use of chemicals
If individual garlic cloves show signs of disease, it is recommended to use ready-made chemicals.
The following fungicides are used to treat garlic before autumn planting:
- Fitosporin-M - protects the plant from root rot, late blight, scab, powdery mildew and many other diseases. Available in paste, powder or liquid form. The most convenient and economical is the paste form of the drug. To prepare the solution, 100 g of paste is diluted in 1 glass of water. Since the solution is highly concentrated, it must be diluted with water before use. To soak garlic cloves, dilute 8 drops of the solution in 0.5 liters of water. Planting material is kept in solution for 2 hours.
- Powder “Maxim” is intended for sanitary treatment of any root crops and soil. Available in liquid form. One ampoule is enough to process 1 kg of garlic. To do this, the drug is dissolved in water (1 liter) and garlic cloves are dipped into the resulting solution for 30 minutes.
In order not to provoke the germination of teeth, all disinfection solutions are used cool.
Thus, preparing garlic for planting before winter is not at all difficult. All disinfectants are quite accessible. Having properly prepared the site and completed all measures for selecting and disinfecting planting material, you don’t have to worry about the future harvest.


I tried treating garlic with wood ash and copper sulfate, it seems to have zero effect.
I treated the soil and already diseased plants with ammonia, the effect is healthy plants did not get sick
The husk should remain on the slices. And judging by your photo, almost all the slices are without husks. In this form, the garlic will not be lost, otherwise several cloves have been peeled off?