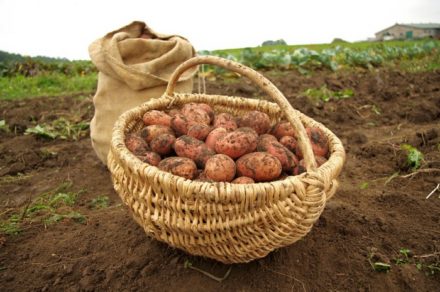
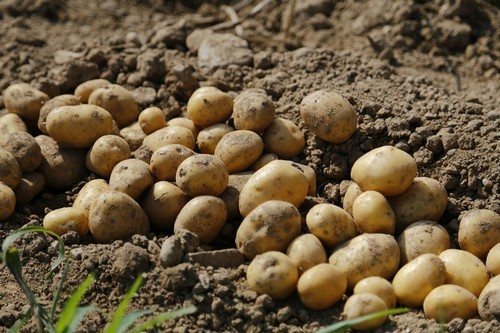
To obtain a high potato yield, you need a competent approach to its cultivation. Productivity will depend not only on the weather, variety, proper feeding, processing, but also on the planting method. There are many options with their own advantages and disadvantages. And each gardener chooses the one most suitable for his conditions.
Traditional methods
The choice of potato growing technology depends on the specific area.
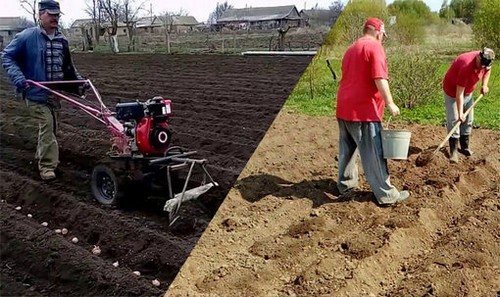
Under the shovel (smooth method)
This is the simplest way, which has been used for a long time. Pre-dug soil is used for planting. It is convenient to carry out the work together: one person works with a shovel, the other throws root vegetables.
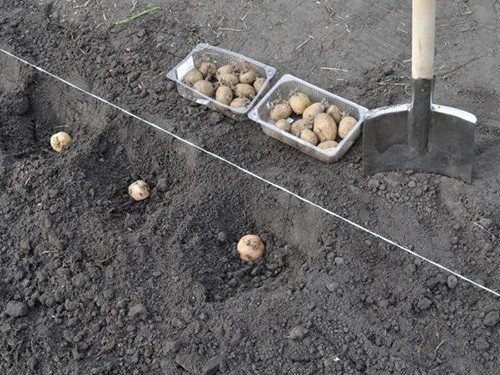
The instructions are simple:
- Loosen the soil with a fork or rake.
- Mark the area using rope and stakes. Leave the distance between rows at least 65–70 cm.
- Dig holes with a diameter of 10 cm, located at least 25–30 cm from each other.
- Add compost or manure to the bottom of the hole.
- Next, 2-3 potatoes are placed in the hole with the sprouted sprouts facing up. Cover with soil taken from the same hole or a neighboring one.
- After finishing work, level everything with a rake to prevent moisture loss.
This method is suitable for any site, it is simple and proven over the centuries. The harvest will depend on weather conditions.
The disadvantages are the following:
- great physical activity;
- the likelihood of injury to the root system during weeding;
- due to the dense arrangement of plants, it is more difficult to fight the Colorado potato beetle;
- not suitable for places with groundwater close to the surface.
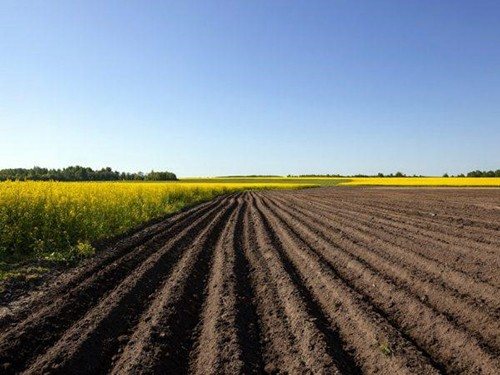
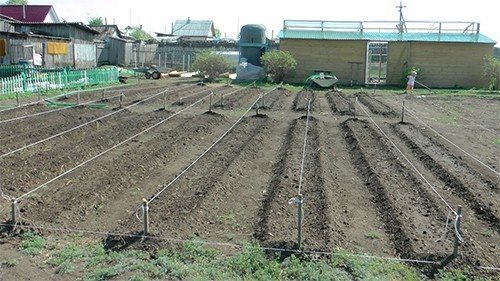
Ridge planting
This option is used for heavy, clayey soils and in places with close groundwater.
The method itself is as follows:
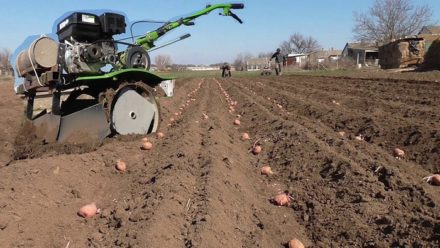
- With the help of a tractor, walk-behind tractor or cultivator High ridges 15 cm high are cut in the area.
- The width between rows is 70 cm.
- The depth of placement depends on the type of soil; it ranges from 8 to 10 cm.
- The bottom of the furrow is filled with wood ash.
- Potato tubers are planted on the tops of the ridge, leaving a gap of 24–30 cm between them.
- Planting depth is 10–15 cm from the top of the ridge. Then sprinkle the tubers with soil.
What are the benefits:
- mechanized labor is used;
- moisture disappears faster on the ridges and protects the crop from rotting;
- the root system, being close to the surface, receives enough oxygen for development.
This method is often used when technology is available to help.
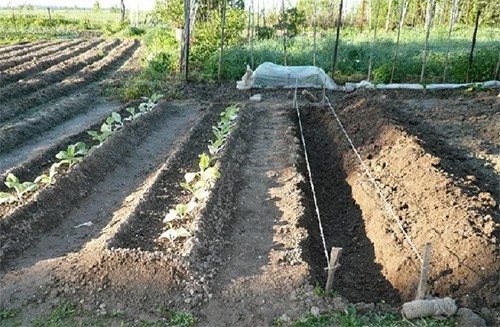
In the trench
The method of growing potatoes in trenches is also popular:
- The trenches have been prepared since the fall. You can use agricultural machinery to help: walk-behind tractor, plow, cultivator.
- They are made from north to south to provide full illumination of the crop being grown.
- Trench depth - up to 40 cm, length - at your discretion. Optimal - up to 10 m. The gap between the furrows is at least 70 cm. The ridges should be left to the side.
- Mown grass, leaves and other organic waste (with the exception of the remains of potato and tomato tops) are placed in the recesses.
- With the onset of spring, ash, droppings, and onion peels are added to the prepared litter.
- When the ground warms up, prepared seed material is placed in trenches at a distance of 20–30 cm and sprinkled with earth.
- As the bushes grow, hilling is required.
Advantages:
- saturating the soil with organic fertilizers allows you to get high results;
- moisture is maintained even in dry times.
Unconventional methods
Deteriorating soil quality, unfavorable weather conditions and other problems force us to look for new planting techniques.
Mitlider method
The technology was invented by the American vegetable grower Mittlider. Using this method, tubers are planted less often than with the traditional method, and the yield is greater. The cultivation scheme is as follows:
- The area for potatoes is marked out into wide beds using stakes and ropes.
- Form beds 35-45 cm wide and up to 9–10 m long. The distance between them is from 80 cm to 1 m.
- The beds are dug up, and the space between them remains untouched.
- They remain in their place for several years. Then earthen sides are formed on them. If the site has a slope, then it is better to strengthen the edges of the beds with boards.
- Before planting, the bed is fertilized with ash, compost, manure or nitroammophos.
- Holes are dug up to 15 cm deep. They are placed in a checkerboard pattern at a distance of 25 cm to 30 cm, and root crops are planted in them.
- Water and fertilize only the holes, without touching the row spacing.
- Before the buds form, the potatoes are fed 2 times.
Advantages:
- the method does not require hilling and loosening;
- no weeds, no weeding required;
- plant roots are not damaged;
- increase in productivity by 2 times;
- Possibility of growing in small areas.
The only negative is that preparing the beds takes time and labor.
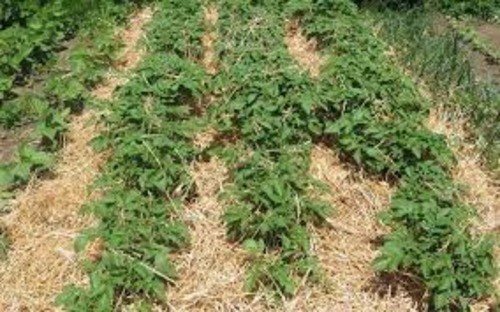
Growing under straw
This method is great for gardeners who don’t have extra time. The point is simple:
- Prepare the soil: it should be loose and moist.
- Potatoes are laid out on its surface at a distance of 24–31 cm. It is recommended to lightly press it into the ground and even sprinkle it.
- A thick layer of straw up to 25 cm is placed on top.
- Periodically add straw and collect the beetle.
The technology has its advantages:
- no plowing required;
- less time is spent on care;
- easy to clean;
- straw prevents the appearance of weeds and improves soil structure;
- allows you to get a quick harvest, within 12 weeks.
The downside is that slugs and mice breed under the straw.
There are other interesting planting methods. To get a high yield, it is better to arm yourself with knowledge and apply it to your land. Good result!


He wrote a complete boot, not knowing anything about planting potatoes.
don't offend the person.