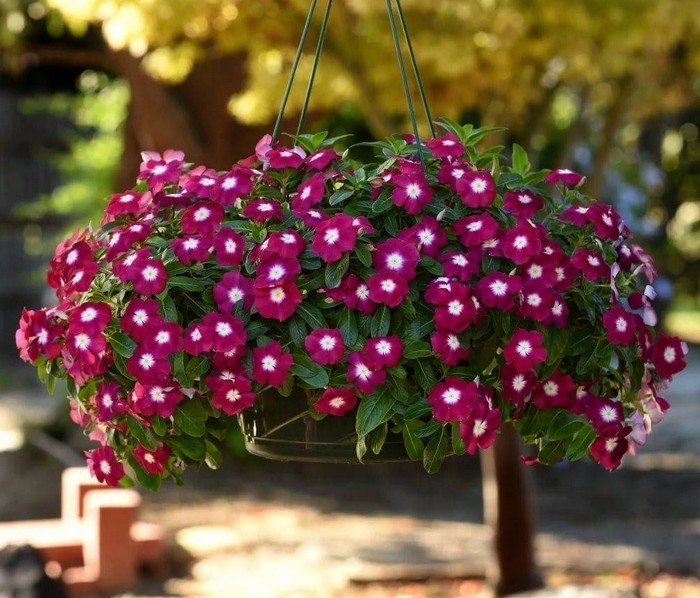
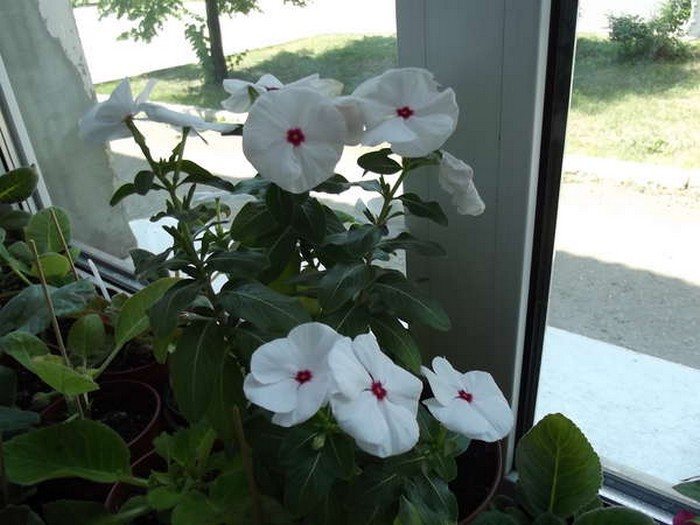
Catharanthus is a universal plant that can be grown both in the garden and at home. The flower is often planted in hanging baskets and planters, using it for vertical gardening. Catharanthus inflorescences vary in color depending on their belonging to a particular variety. In summer, the plant can often be seen on balconies, loggias, verandas, which the catharanthus decorates with its presence. Growing the flower from seeds is easy, since its seeds are large in size, and their germination rate reaches 90%. The plant loves the sun, easily tolerates heat and drought.
Preparing seeds for sowing
Purchased catharanthus seeds do not need to be prepared for sowing. The manufacturer pre-treats the planting material, carrying out all the necessary procedures. In this case, you only need to pay attention to the expiration date. The seeds are considered fresh and germinate well up to 2 years from the date of collection.
If planting material from your garden is used for sowing, it must be disinfected and stimulated. The most common disinfectant is a solution of potassium permanganate. It is prepared from 2 g of potassium permanganate crystals and 1 liter of water at room temperature. Soaking time is 30 minutes, then the seeds are washed in clean water.
You can stimulate seed germination in several ways. The following are suitable for this:
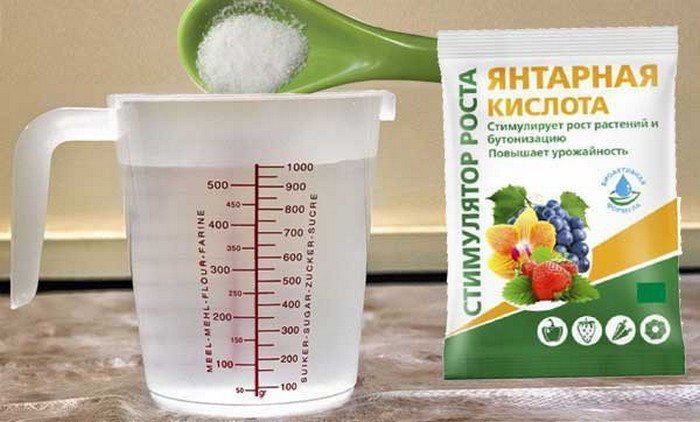
- Succinic acid.The drug is available in tablet form and is sold in pharmacies. The soaking solution is prepared from 1 tablet per 1 liter of water. The seeds must be completely covered with the stimulating composition within 24 hours. There is no need to rinse them after the bath.
- "Epin." To soak seeds, use the drug in a dosage of 3 drops per 1/2 cup of water. Soaking time – 3 hours. "Epin" stimulates the growth and flowering of plants, increases their immunity, and makes seedlings stronger.
- "Zircon". For 1/2 glass of water you will need 3-4 drops of the drug. Zircon contains only natural ingredients. After soaking in the solution, the seeds germinate faster, and the plants will subsequently be less sensitive to weather changes and other stress factors.
After treatment in stimulating solutions, the seeds are no longer washed. They should be slightly dried, after which you can start sowing.
Choosing the right soil
Any seedling develops better in loose soil. Catharanthus is no exception. The substrate must contain peat. Perlite or vermiculite granules are also used as leavening agents. The basis of the substrate should be 3 components, which are taken in equal proportions:
- garden soil;
- peat soil;
- coarse river sand.
The components of the soil are thoroughly mixed in a basin, after which a generous handful of perlite or vermiculite is added. You can purchase a ready-made substrate for growing flower and vegetable seedlings at a gardening store. Purchased land does not need to be disinfected. If the soil was prepared independently, it must be steamed in a microwave or oven to destroy pathogenic microflora.

Features of sowing
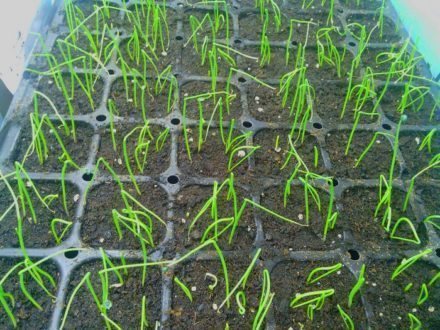
To begin with, it is better to plant catharanthus seeds in a common container. Subsequently, the seedlings are planted in separate pots, in which they are kept until they are one year old. If desired, sowing is carried out in disposable cups, placing 2 seeds there and then leaving a stronger plant (the second sprout is cut off with scissors at soil level).
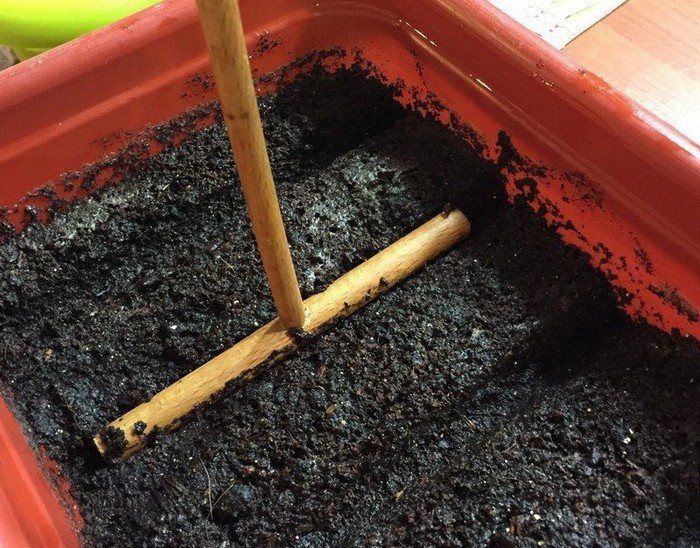
How to sow:
- Fill a wide, low container with substrate.
- Lightly compact the soil.
- Use a stick to make grooves 1.5-2 cm deep.
- Scatter the seeds at 2 cm intervals.
- Sprinkle with a layer of earth 0.5 cm thick.
- Spray the crops with a spray bottle.
After finishing the work, cover the container with film and place it in a warm, dark place. Catharanthus germinates without access to light. The film is opened slightly every day in order to remove condensation and ventilate the crops.
Seedling care
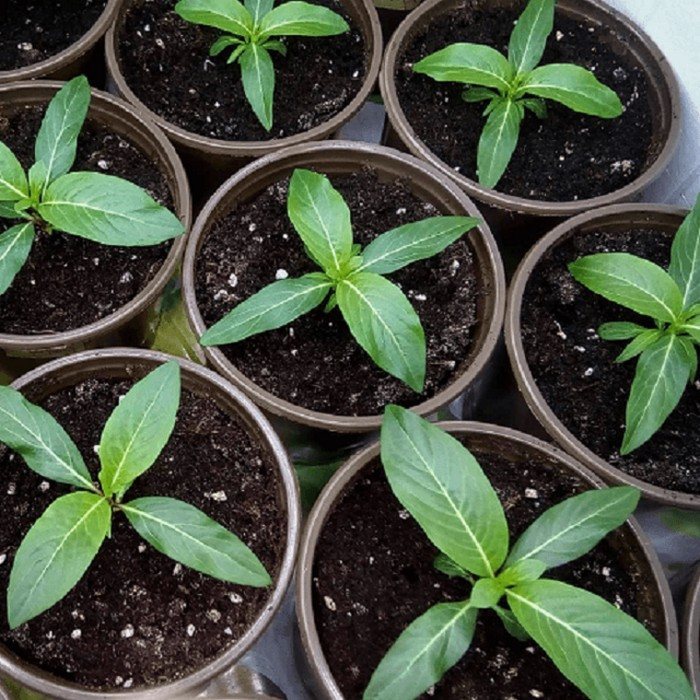
As soon as sprouts appear in the container, the seedlings are moved to the windowsill. It is better not to remove the film immediately. Seedlings must get used to the dry indoor air. The crops are kept without shelter for half an hour every day, gradually increasing the ventilation time. For normal growth, catharanthus needs a temperature of +20–22 °C. Water the seedlings, preventing the soil from drying out and avoiding waterlogging.
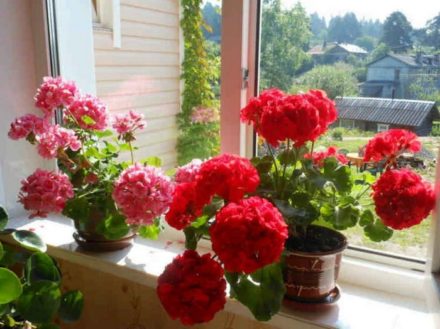
At 2 months of age, plants growing in a common container will require picking. For planting, choose pots with a volume of 0.5-0.7 liters, in which the flowers will exist until they grow up. It is better to grow catharanthus in soil intended for geraniums.A drainage made of fine expanded clay is placed at the bottom of the pot, then soil is poured in and the seedling is planted along with a lump of earth around the roots.
Further care for the plant
Catharanthus loves to “eat”. During the growing season, complex mineral fertilizer is applied under the flower every 7–10 days. The plant responds well to specialized rose nutrition. Catharanthus signals a nutrient deficiency by loss and paleness of foliage, thinning of stems, and lack of flowering.
The plant needs a lot of light. The flowerbed for it is placed in a sunny place, and at home the flower is placed on a south or east window (at noon the plant will need shading).
In autumn and winter, additional lighting is provided on the windowsill for catharanthus. Watering should be such that in intervals the soil dries out to a depth of 3–4 cm. Overmoistening is detrimental for this flower, as it promotes the development of rot.
Sowing of all varieties of catharanthus is carried out according to the same principle. Further care may vary depending on the place of cultivation and varietal characteristics. To get luxurious flowering bushes, they need to be fed regularly. To preserve the decorative appearance of the catharanthus, faded buds are immediately removed, and shoots that are too elongated are shortened.