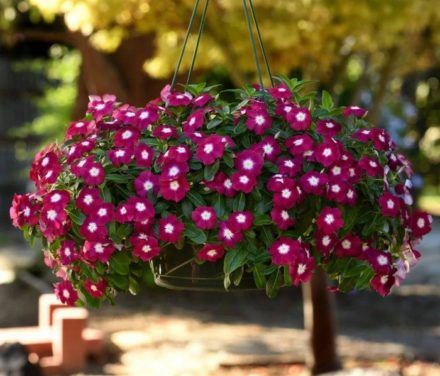
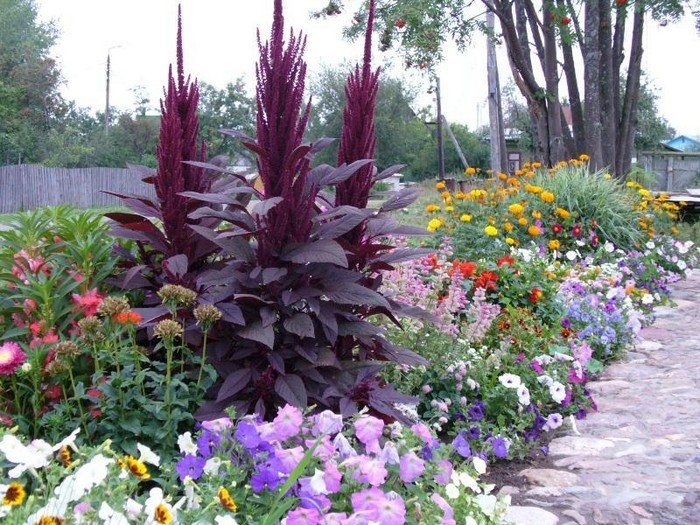
The main highlight of amaranth is its original inflorescences. They are velvet panicles - erect or hanging. The crop is grown as an annual. In southern latitudes, amaranth can be sown directly in open ground; in the middle zone, you will have to first grow seedlings. Sowing at home will allow you to get earlier flowering. For the process to be successful, a number of subtleties need to be taken into account. You will need to pay attention to the quality of the seeds themselves and the care of the seedlings.
Selection of planting material
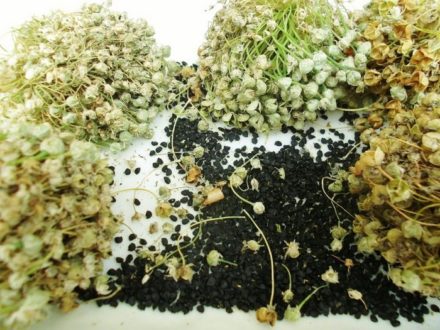
When choosing seeds, first of all pay attention to the characteristics of the variety you like. The plant must be suitable in size, flowering time and other characteristics. Be sure to check the expiration date indicated on the packaging.
The fresher the planting material, the better. It is advisable to choose seeds from a reliable manufacturer, whose products have already been tested and are trustworthy.
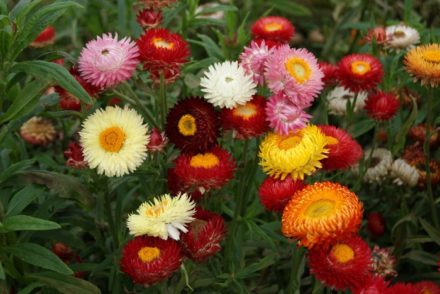
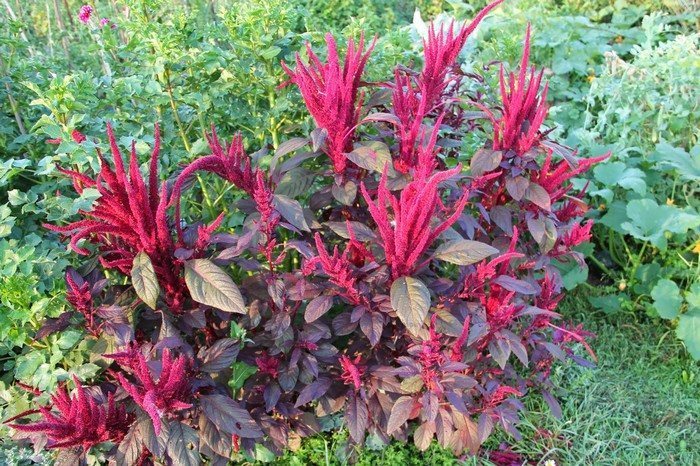
By the way, not all varieties of amaranth are decorative.
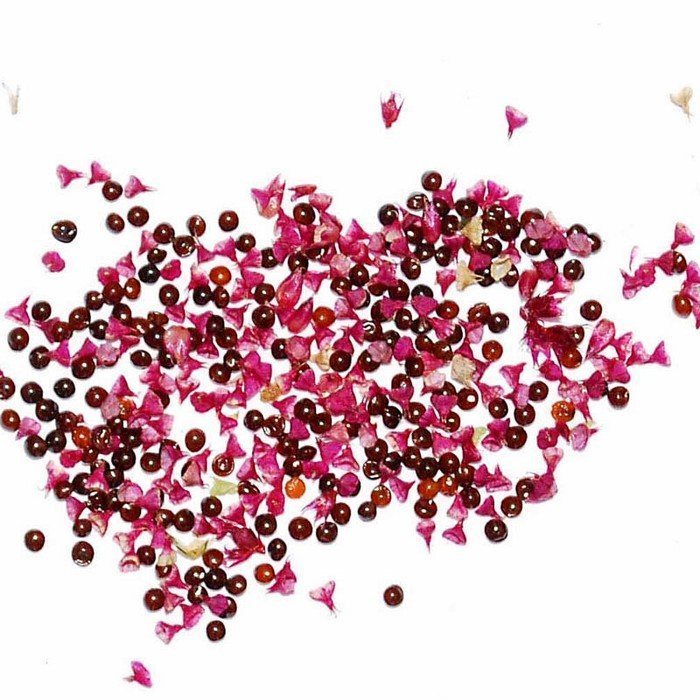
The crop includes grain, vegetable and fodder varieties. The most common decorative species is scarlet amaranth. By the way, in the future the plant easily reproduces by self-sowing. The seeds do not require any preliminary preparation for sowing; they germinate easily without it.
Sowing time
When growing plants in seedlings, it is always important to comply with sowing dates.If you start sowing too early, before the warm weather arrives, the seedlings will overgrow, stretch out and, as a result, turn out to be weak. If sowing is late, the plants simply will not have time to form before transplanting into open ground. Sowing dates by region look like this:
- in the southern regions - mid-February;
- in the middle zone - the first half of March;
- in Siberia and the Urals - the last days of March or the beginning of April.
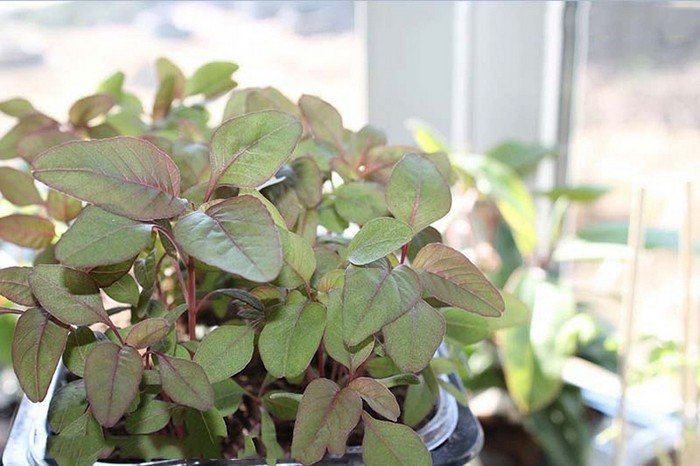
Plants can be transplanted into open ground after warm weather sets in without the risk of return frosts. In order for the plants to adapt well after transplantation, be sure to keep a ball of earth near the roots, then the roots will not be injured. At this point, the seedlings should be strong, squat bushes with well-developed bright leaves.
Soil quality
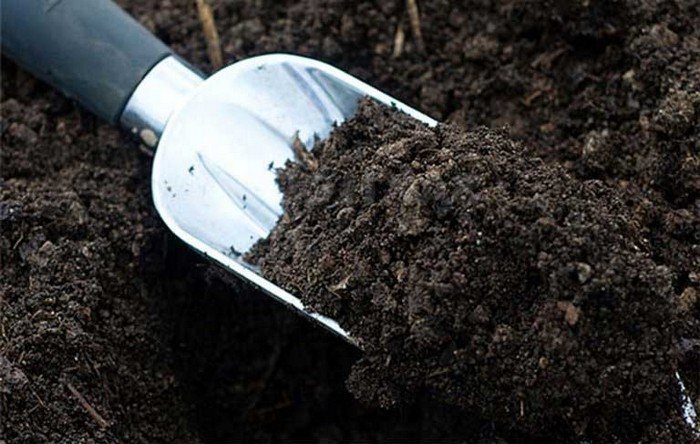
At the initial stage of growing amaranth, the quality of the soil is even more important than for adult plants. For good growth, seedlings must be provided with nutrition, moisture, and have access to oxygen to the roots. Before sowing, choose loose, fertile soil with a neutral acidity level. You can purchase “Universal soil” for growing flower seedlings.
The mixture itself consists of the following components:
- lowland peat – 2 parts;
- soil from the garden - 1 part;
- humus – 1 part;
- sand - 1 part.
The soil is first disinfected by steaming it in the oven or microwave. This should be done 2 weeks before sowing, so that in the remaining time the beneficial soil microflora has time to recover.
Features of sowing
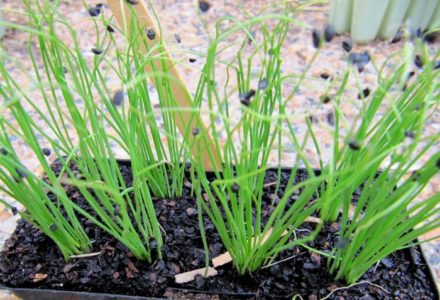
Sowing amaranth has its own characteristics, since this crop has very small seeds.It is more convenient to sow them in a common wide container with low sides. A drainage layer of fine expanded clay or perlite is laid at the bottom with a layer of 1.5-2 cm. Then the container is filled with prepared soil, leaving 2 cm to the top.
The soil is moistened with water from a sprayer, after which sowing begins. Due to the tiny size of the seeds, it is impossible to maintain a certain interval between them. It is more convenient to scatter the seeds over the surface of the soil, shaking them little by little from a white sheet of paper folded in half in the middle.
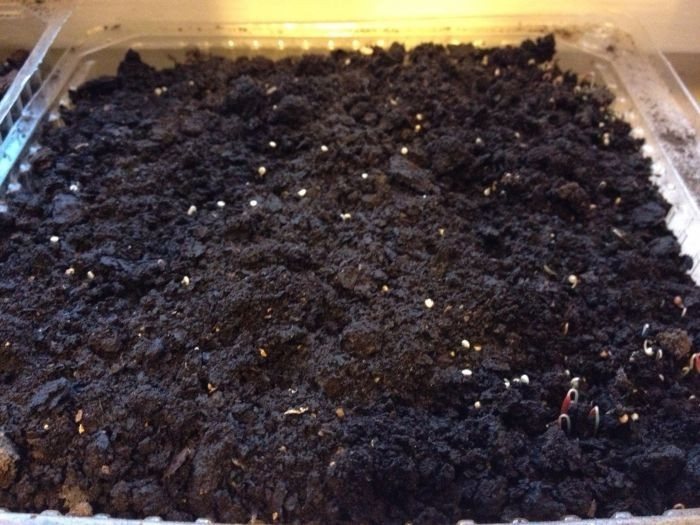
On top you need to sprinkle the crops with a layer of sifted earth 3 mm thick. When the work is finished, the crops are sprayed and covered with a transparent film. The shelter is used until seedlings appear on the surface.
Proper care of seedlings
While the seeds have not yet sprouted, the crops need to be ventilated daily, removing the film for 15–20 minutes. At this time, the container should be in a room with a temperature of 22–25 °C. After the emergence of seedlings, the temperature is reduced to 16–18 °C; after a week it can be raised again to room temperature.
For the development of seedlings, a daylight period of 12–14 hours is needed, so the seedlings must be illuminated with phytolamps or a fluorescent lamp for the first 2–4 weeks. The lamp is turned on for 2-3 hours in the morning and evening. In cloudy weather, the backlight is left on for the whole day.
Watering mode
The soil in the container must be kept slightly moist at all times. The soil should not dry out, but waterlogging will also be disastrous for the seedlings.Watering is carried out when the top layer of soil dries slightly.
Water must not get on the stems, otherwise the seedlings may be affected by “blackleg” (a dangerous fungal disease). At the initial stage, it is convenient to water the plants using a medical syringe or syringe, carefully applying water to the root.
Timely picking
Since amaranth seeds sprout thickly, it is important to pick the seedlings in a timely manner. If this is not done, the plants will begin to oppress each other. For transplanting, you can use plastic cups, small pots, and cassettes. The procedure begins after the first true leaf appears.
The soil is taken the same as that used for sowing. Before picking, water the seedlings so that the soil does not fall off the roots. It is convenient to remove the stems from the ground using a teaspoon. In a new container, you should make a hole in advance; it should be of such a size that the roots fit completely.
After picking, the small plants are watered and placed on a bright windowsill. A week before planting, the seedlings begin to harden off by briefly opening the window and then exposing them to fresh air.
Amaranth is planted in a flowerbed on a warm but cloudy day. Holes for planting are spaced at intervals of 20–30 cm. In garden design, amaranth goes well with bright low-growing flowers and decorative foliage plants. The culture is often used as a hedge.